
Using Legacy Skye for Business Portal
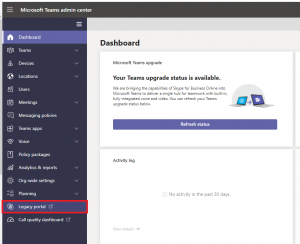
- Log into Microsoft teams admin center
- Click Legacy portal
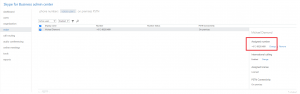
- From the menu, Click Voice
- Click Voice Users tab
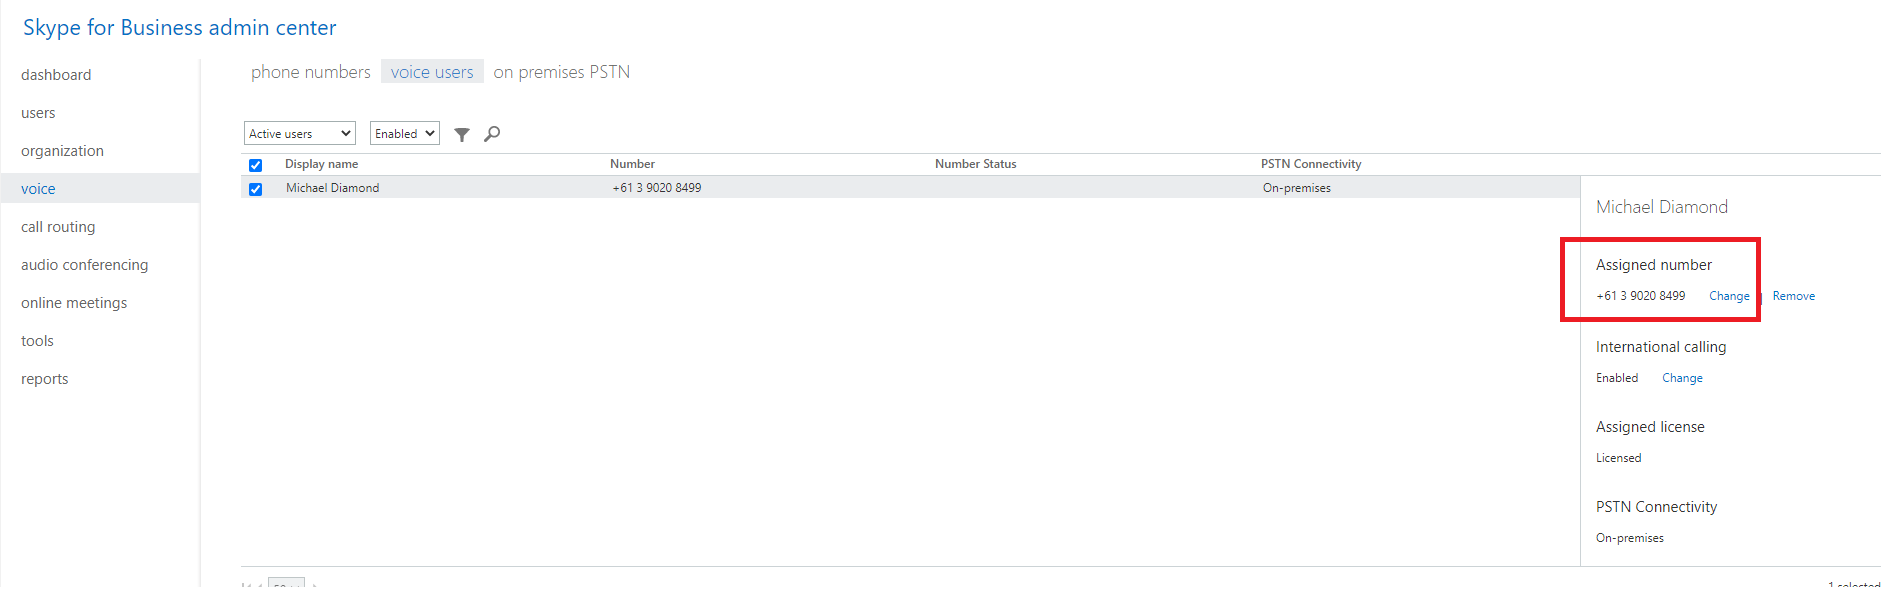
- Find your active user and select Change under the Assigned Number pane
- Enter the phone number and press Save

Using Powershell
- Download and install the module from the link Skype for Business PowerShell provided.
- Run Windows Powershell with administrator permissions
- Once installed, you must import the module by entering the command below to PowerShell and then pressing enter;
Import-Module SkypeOnlineConnector - If you receive an error, run the following command. Then try step 3 again.
Set-ExecutionPolicy -ExecutionPolicy Unrestricted - Connect to your Office365 instance. You will be prompted for global administrator credentials.
$session = New-CsOnlineSession -Verbose - Import the session
Import-PSSession $session -Verbose -AllowClobber - Run the Set-CSUser command with the correct email account and telephone number.
Set-CsUser -Identity "testuser@testdomain.com" -EnterpriseVoiceEnabled $true -HostedVoiceMail $false -OnPremLineURI "tel:+613XXXXXXXX"Set-CsUserPstnSettings -Identity "testuser@testdomain.com" -AllowInternationalCalls $true -HybridPSTNSite $null
Please ensure that the user has been assigned a phone system license before attempting this step.