Zoiper Windows Installation and Configuration
Quick Start
Installation instructions
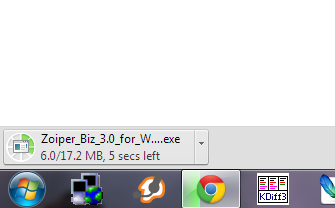
- After the download prompt appears, save the file and wait for it download successfully.

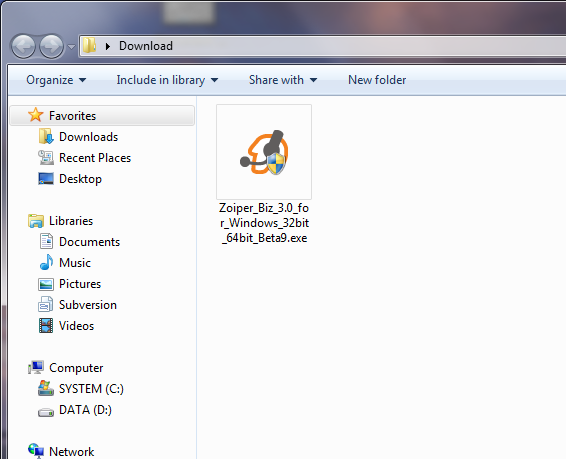
- Next go to your downloads directory and find the Zoiper installer, then execute it.
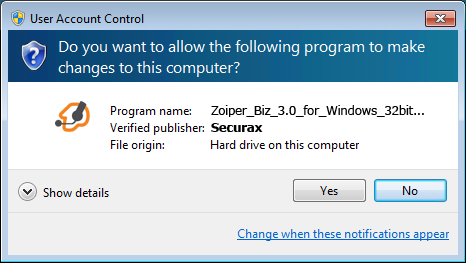
- A verification prompt will appear, click “Yes”.
- The Zoiper installer will start, click “Next” on the first screen of the Setup wizard.

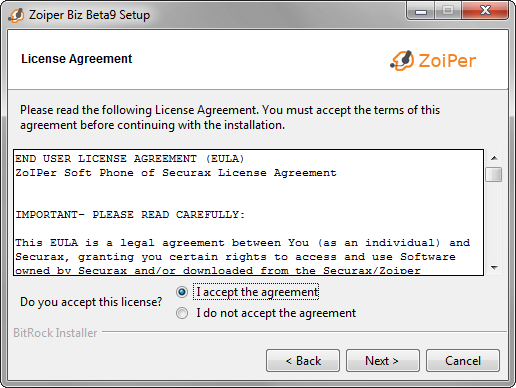
- Read the license agreement and click “Next” after accepting the agreement.
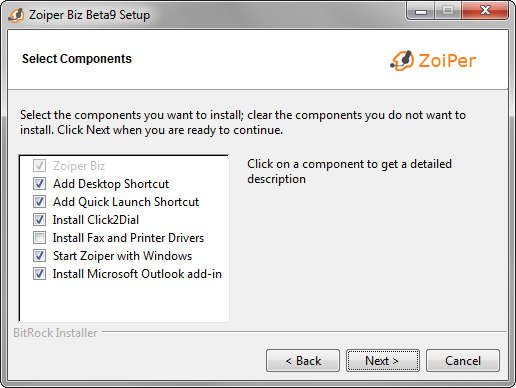
- Select which components to be included.
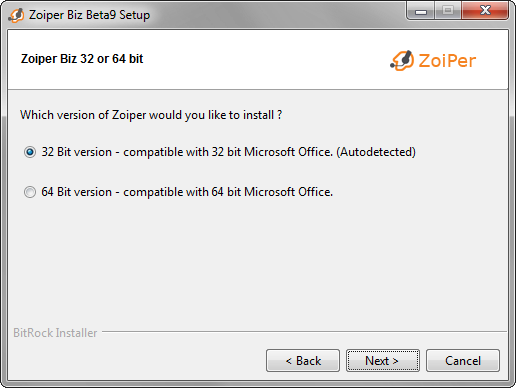
- Select the version you would want to install.
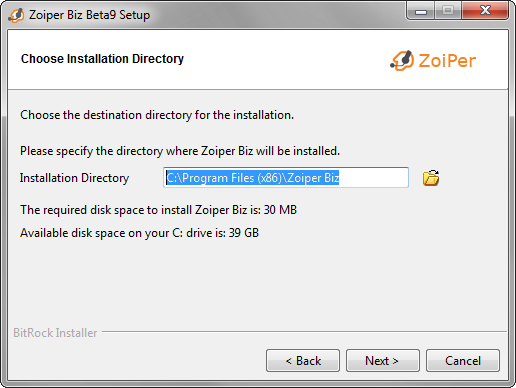
- Select an installation directory (Best to keep the default one).
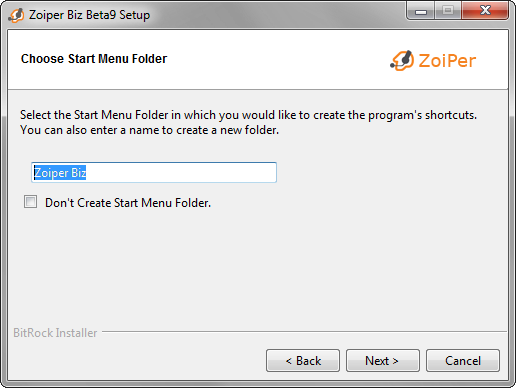
- Choose a start menu folder.
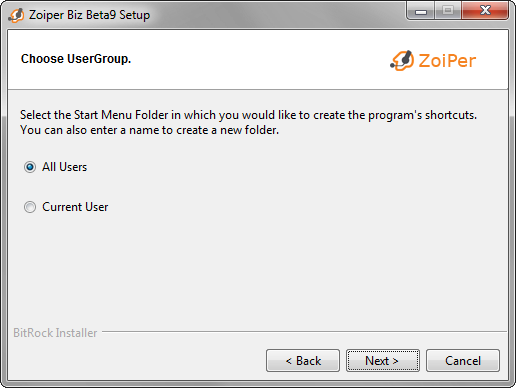
- Select which users should be able to use the new Zoiper installation.
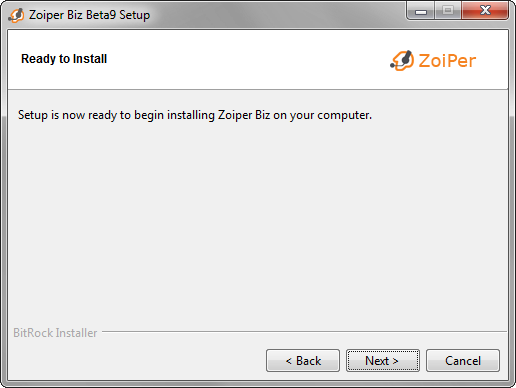
- The setup is now ready to begin the installation. Click “Next” to continue.
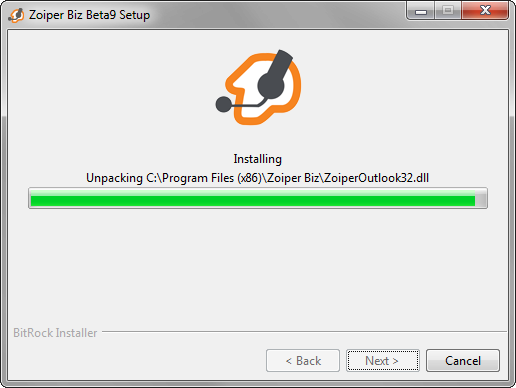
- Wait while the Zoiper installation finishes.
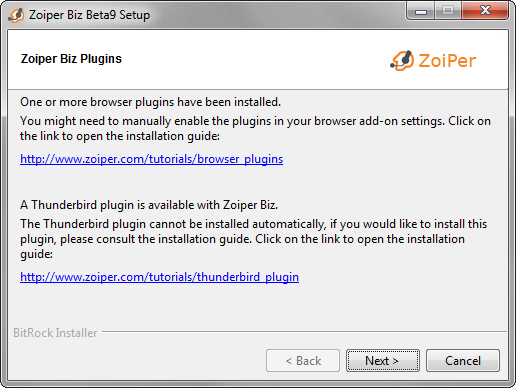
- The install wizard will inform you for the Zoiper Biz Plugins which should be already installed.
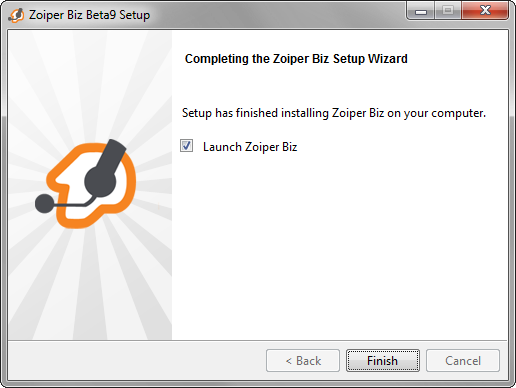
- The installation is complete. Click “Finish” to launch Zoiper.
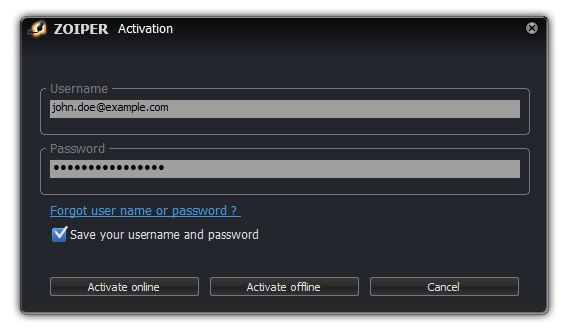
Activating the Zoiper License: (Zoiper Business Edition Only)
If you are using Zoiper Business Edition, an activation screen will appear on the first startup. Please fill in the email address you used to purchase Zoiper as the “username field”. You can find the password in the mail that was sent to you directly after your purchase.
Activate online
If your computer is connected to the Internet, you can activate your copy of Zoiper automatically by clicking on the Activate online button. Zoiper will contact our licensing server and download the needed license files.
If your computer requires the use of a manually configured proxy server, zoiper will automatically use the proxy settings used for internet explorer.
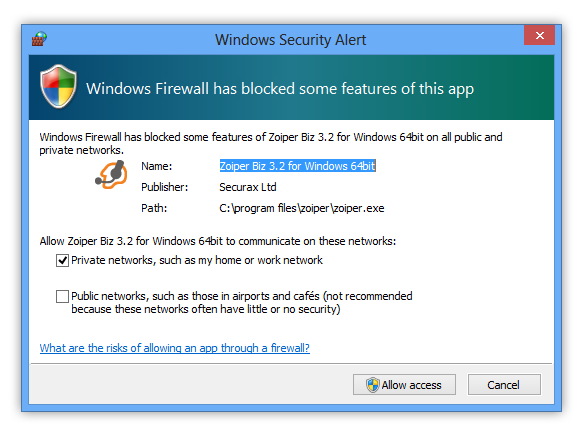
Please confirm that Zoiper is allowed to accept incoming network connections.
Configure Microphone and Speaker
Zoiper comes with a built-in Audio Wizard for easy configuration of your microphone and Speaker.
You may access this Audio Wizard by:
- Clicking on the speaker icon on the bottom right
- Clicking on the Settings menu in Zoiper and selecting Audio Wizard
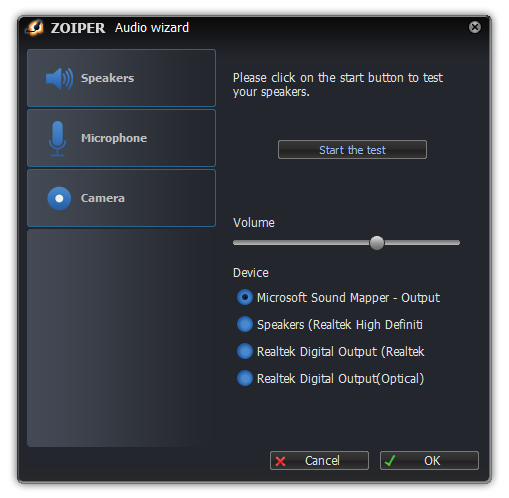
Zoiper will configure your Speakers first.
Click on the “start the test” – button.

If your speakers are configured and connected properly, you should hear a ringing sound. If you do, please click on the Yes button and move on to the Microphone step.
If no ringing sound was heard, please make sure your speakers are connected properly and powered on and if needed change the selected audio device on the bottom of the page to a different one and try again by clicking on the “no” – button.
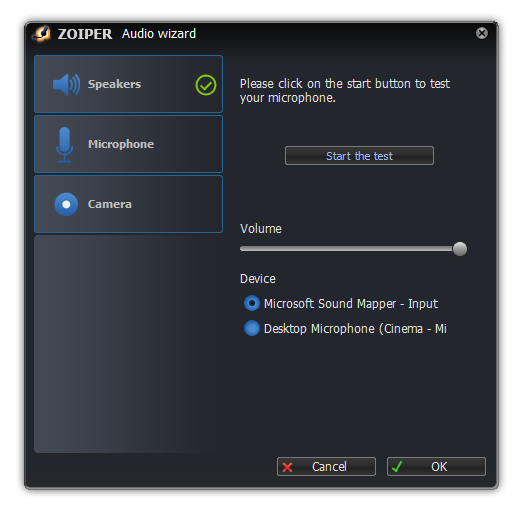
Click on the “Test your microphone” – button to start recording your voice.
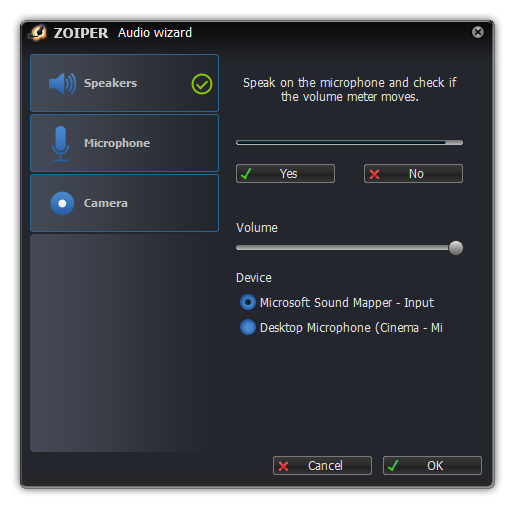
If the selected microphone is connected properly, you should see the volume meter move when speaking into the microphone. If the volume meter is not moving, please check your cabling and make sure the proper audio device is selected in the Device section on the bottom of the page.Once the microphone and speaker are configured properly, click on the “yes” – and the “ok” to move on to the webcam configuration screen.
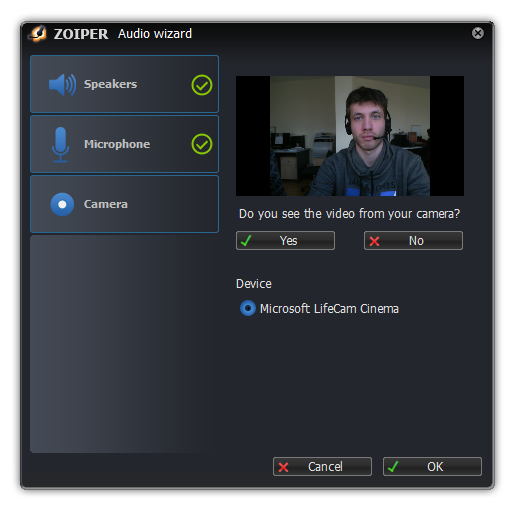
A list with webcams will appear on the bottom. Please select the webcam to use and confirm that the image is shown by clicking on yet. If no webcams appear, please make sure that your webcam and webcam drivers are properly installed in windows.Clicking on ok will close the configuration panel.
Configuring the SIP account
Now that the audio devices are configured, it is time to move on to the configuration of the server you want to use. You will need to obtain these credentials from our support desk.
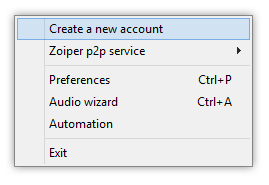
Click on the Settings menu and select “create a new account”.
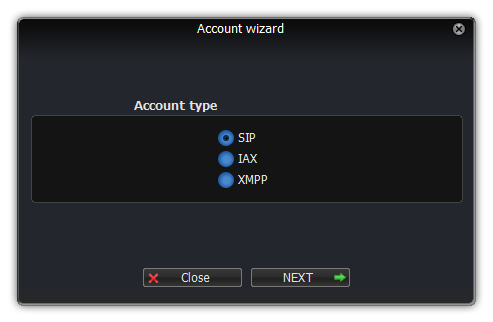
Account Type
A new page will appear to select the type of account you want to make. Select SIP and click on the “Next” – button.
Credentials
Your provider or system administrator should have provided you with a username, password and possibly a hostname.
Ask our support desk for your credentials. They should be entered in the following format:
User: <Your extension number>
Password: <The password we issue you>
Domain: <Your PBX address e.g. 12345.pbx2.0101.net.au >
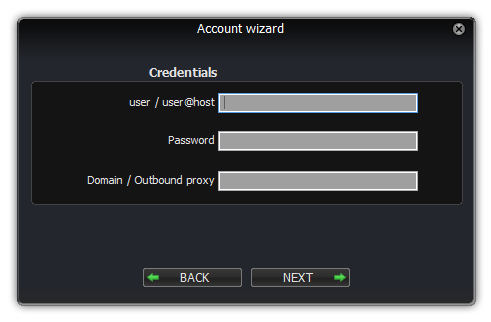
Fill in the username on the first line and the password on the second line. Fill in the domain/proxy.
Press NEXT.
Account name
Please enter a name to identify this account; you are free to give it any name of your liking.
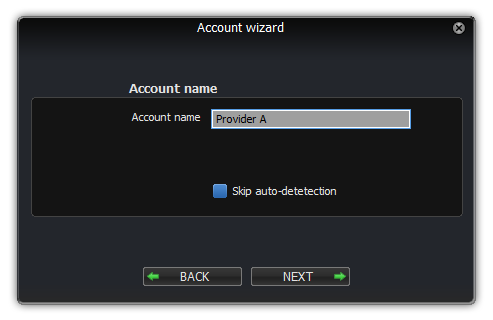
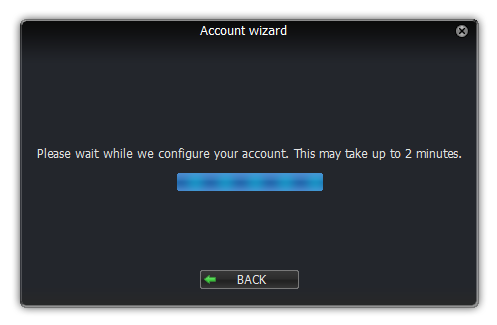
When you are done, click on the “next” – button. Zoiper will now try to figure out the best way to connect to the VOIP server.
Troubleshooting
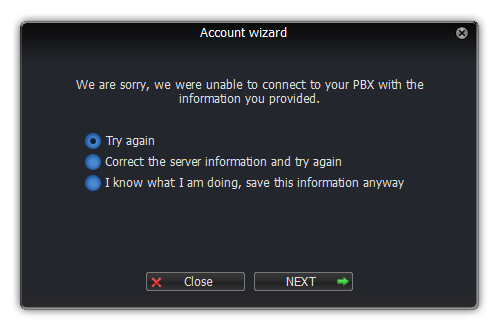
In case the account wizard is unable to automatically configure your account, this could be due to a variety of reasons.
Most common reasons are:
- The server hostname does not exist or is incorrect.
- The username or password is incorrect.
- The server is not responding or a firewall is blocking the access.
- The account needs additional configuration to register
Please verify the information you have entered and try again.
If you are sure the information are correct and want to save the information and want to complete the configuration manually, click on “I know what I am doing, save this information anyway”.
See also Preferences -> Accounts.
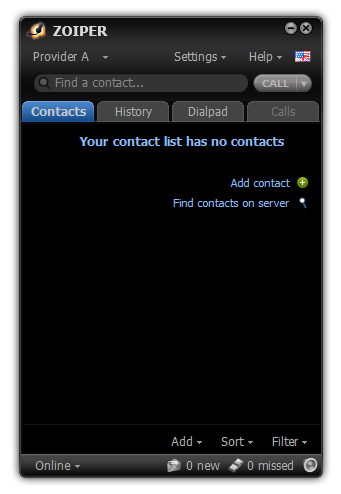
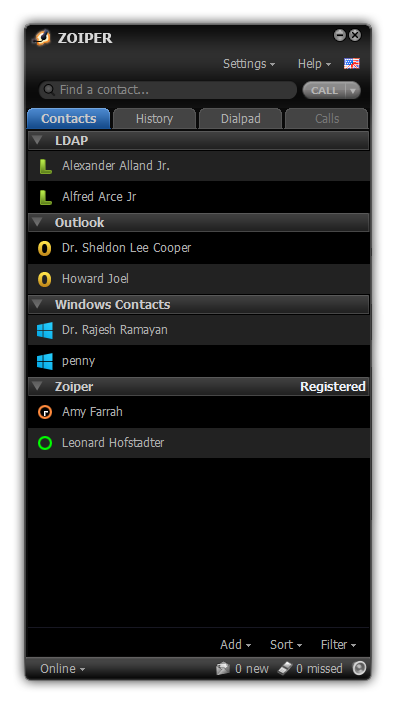
Overview of the Interface
Zoiper is designed to make communications easier and more intuitive. It is a powerful tool that combines voice, video and instant messaging in one.
The picture above shows the basic overview of the Zoiper interface.
Menu Bar
The menu bar consists of the Account dropdown, Settings menu, the Help menu and the language selector.
Account dropdown
 The account dropdown is only present when 2 or more sip or iax2 accounts have been configured. Changing the selected provider changes the default account used for the outgoing calls.
This selection has no effect on instant messages or contacts with a hardcoded account.
Settings menu
 The settings menu let’s you access the Account Wizard, the Zoiper p2p service, the preferences menu, the Audio Wizard and the Automation menu.
Help menu
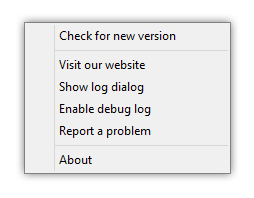 Here you can check for the latest version of Zoiper; the manual; visit our website; show the quick logs, about box; the manual, enable or disable the debug log; report a problem to the Zoiper team or read the about box.
Language menu
This dropdown lets you change the language. Contact us on support@zoiper.com if you would like to translate Zoiper in your language.
Search / Input field
This field can be used to
- Dial the number entered in this field
- Search for this name or number in the contact list(s)
Using the search functionality
A search may be made for phone numbers / extensions, digits or letters for names of contacts. For example, the overview image shows a search for the first three letters of the name Peter.
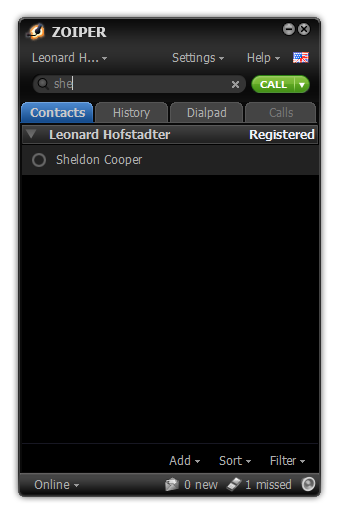 Typing in just the first syllable (i.e. ‘pe’) is enough to instantly bring all results that contain this sequence of letters. With each letter typed, the search is narrowed down to the right contact. You do not need to type the entire name: click on the chosen contact when the results are filtered out to just a few – give him / her a call by clicking on the call button, or send a Fax, or start an Instant Messaging session using the functional buttons.
Note that you may perform a similar search with the matching digits of a phone number.
It is possible to also search LDAP or the native contact and aggregate the results in the contact list. See the tutorial for using LDAP with Zoiper.
Using the Dial functionality
You may enter any phone number / extension to make a VoIP call. Just type it in the field and click the “Call” – button, or hit enter to dial.
Call and hang-up buttons
These buttons provide the basic phone functionality of Zoiper. Both buttons are grey and disabled by default.
When you type something in the Search / Input field or click on a chosen contact, it becomes green.
The “Call” – button is used for dialing phone numbers / extensions. It becomes enabled (green) when you:
- Click on a contact;
- Type a contact name to call in the search / input field
- Type the phone number / extension in the search / input field
On the right side of the call button you may find a dropdown to send a fax or start an instant messaging conversation instead of an ordinary call.
The “Hang-up” – button is to the right of the “Call” – button. It becomes red while dialing or in the middle of an active call.
The tab bar and tabbed windows
The tabbed windows feature provides convenient access to all functionalities. The tab windows are accessible via the Tab-bar located beneath the Call and Hang-up buttons.
The four tabs bring the relevant windows: Contacts, History, Dial pad and Active calls to the foreground.
All these windows are dockable. This means that you can drag them away from the main Zoiper window. This is particularly useful if you want to, for example, browse your Contact list and have your Dial pad on display at the same time.
Contact tab
The contact tab shows a list with all contacts or, if a search is active, all contacts that result from the search query in the search field,
Regardless if they were found in the Zoiper contact list, in the native address book, the outlook contacts, on an external XCAP server or in the XMPP roster or the LDAP directory.
The contacts are ordered in subgroups, with a small triangle next to their name that allows the user to hide or show the contacts for a given group.
Clicking on a contact results in the contact field expanding to reveal more details and options, while at the same time enabling the green call button.
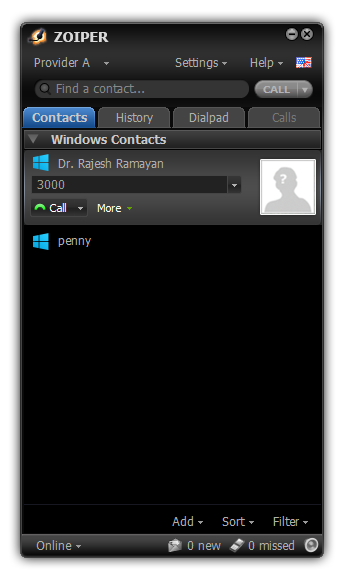 If multiple numbers are available for a contact, a dropdown will appear on the right of the telephone number, giving access to all other numbers for that contact.
The small call button underneath lets you dial the contact, while the small dropdown triangle reveals additional options such as The “More”-button on the right, lets you edit the contact (if it is in the Zoiper contact list and not in an external contact source) or copy the contact to the clipboard.
On the bottom of the tab there is a contact menu, to quickly add or import a contact from LDAP or the native address book. The Sort button lets you sort the people based on their name or their online status. The filter button allows filtering out the offline people.
Entering a few characters in the search field will filter the results shown below, just like in the contacts list tab.
History tab
You can open this tab by clicking on it.
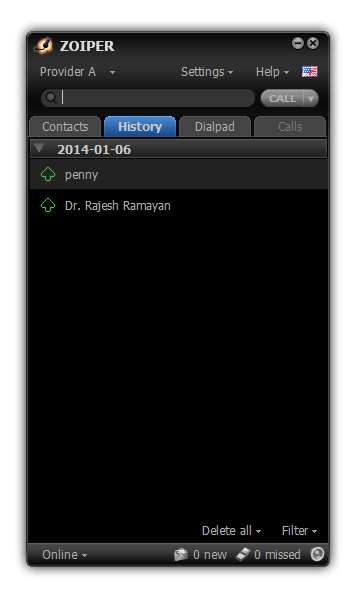 The history tab shows a list with the history of calls and faxes exchanged, In a way very similar to the contact list tab.
The events are listed consecutively with date and time for each event.
The history stores the information about events such as:
- Incoming calls
- Outgoing calls
- Missed calls
- Incoming faxes
- Outgoing faxes
- Unanswered calls
- Rejected calls
If you have missed a call, you may dial back the caller right away. You may observe the length of calls or the contents of messages. History also allows you to bring up faxes received, if you like to.
When Zoiper is restarted, the History from previous sessions is still present. The previous Zoiper session (from launch to Zoiper shutdown) is saved in a History.txt text file, this file is located in the %appdata% folder, in the Zoiper subdirectory.
Each new History is listed underneath the previous one according to its date and time.
Clicking on a contact shows more details and options.
On the bottom of the tab, a delete button lets you delete the complete history at once, the filter button allows filtering of the contacts based on the call’s release / hangup reason and if it was an incoming or outgoing call.
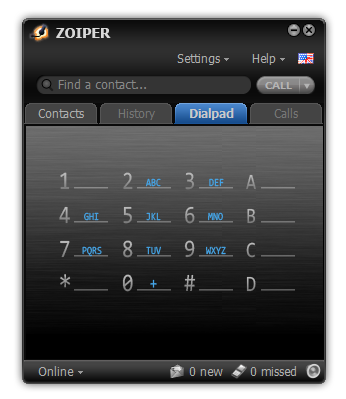
Dialpad
Clicking on the dial pad opens up a traditional dialpad, to either dial a number or to navigate an IVR through DTMF tones.
Active call tab
When you start a call, the active call tab will become active.
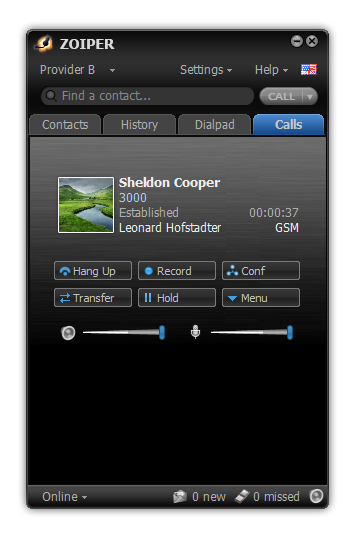 The dialed number (and name if available) are shown on the top, together with additional information on the call such as current status (Ringing, Established), the account used, the duration of the call and the codec used.
Underneath a series of action buttons will appear:
| Hangup | To hangup the call |
|---|---|
| Record | This will start a call recording on the fly. The recordings will be stored in the location configured in the preferences. (Add a shortcut to this setting in the manual). When active the text on the button will change into Stop.
Please note: it is possible to always enable recordings in the settings.
|
| Conf | Add this call to a conference call. All calls in the conference will appear in a list on the bottom. 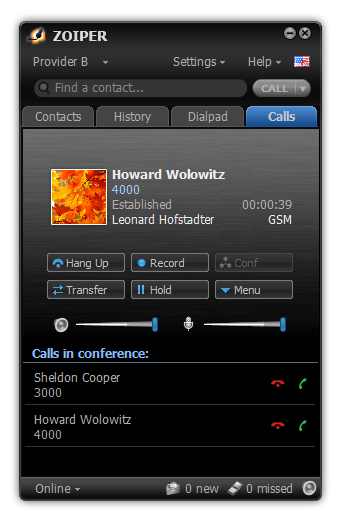 Clicking on the red hangup icon will hangup the call with the person. Clicking on the red hangup icon will hangup the call with the person. |
| Transfer | Open the transfer dialog.
|
| Hold | Hold the call, this will cause music on hold to be played from the server to the recipient. (if configured on the server).
|
| Menu | Opens a menu with additional options.
Two volume sliders will appear on the bottom, the left one is for the speaker. Clicking on the speaker will silence the speaker, sliding will adjust the volume. The microphone slider is adjusted automatically by default to automatically select the optimal microphone volume. You can disable this behaviour in the settings, althoug it is not recommended. Muting the microphone can be done by clicking on the microphone icon. |
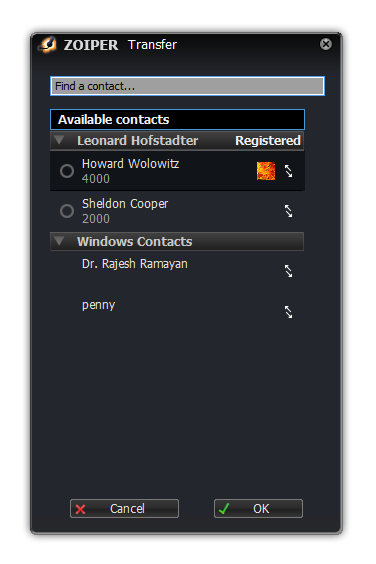 You can transfer the call to the person in the list by clicking on the transfer button on the right of the name. Keep in mind that it is only possible to transfer to people on the same server and the server you are connecting to needs to have transfer support activated.
Bottom Bar
On the bottom of the phone, a small menu is available with easy access for changing the online status, checking voicemail messages, showing missed calls, audio device selection and the audio wizard.

Online status
This is an indicator of the online status of your current account. The people that have added you in their contact lists may view your online status as well. Choose the status that suits you best.
In order to change the current status, you may:
- Choose the online status you wish to use from the Online status button and click on it.
- Go to the settings > Zoiper p2p > status and click on the status you want to display.
 Changing the status will affect all configured SIP and XMPP accounts with the “publish presence” option enabled in the settings. When on an active call, the status will automatically be changed to “on the phone”.
Voicemail messages
The message-waiting indicator will light up when you have new voice messages. This requires the support for MWI by your PBX or VoIP provider.
Clicking on the voicemail icon will dial the voicemail extension that was configured for that account.
You can configure the MWI in Settings > Preferences > { SIP account } > advanced > Subscribe for MWI. Refer to this link for more information.
Missed calls
The missed calls indicator will light up when you have missed calls, a counter on the right will inform you how many you missed.
Clicking on the icon will take you to the history tab, with the missed calls pre-filtered.
Audio icon
The audio icon provides a quick way to change the audio device or start the audio wizard.
![]()
Preferences
You can access the Zoiper Preferences window, by either:
- Clicking on the Settings menu and clicking on preferences;
- Pressing CTRL+P on your keyboard while Zoiper has the focus.
In all cases the Zoiper Options screen will pop up with these sections:
Accounts
 If you have one or more accounts, you will see them listen in the left column on the accounts page.
The accounts are grouped by protocol. (SIP, IAX, XMPP), an icon in front of the account informs you of the current status: registered, failed to register or not registered.
When you click on an account, settings for this specific account will open. What settings will be shown depends on the protocol type. (SIP, IAX or XMPP).
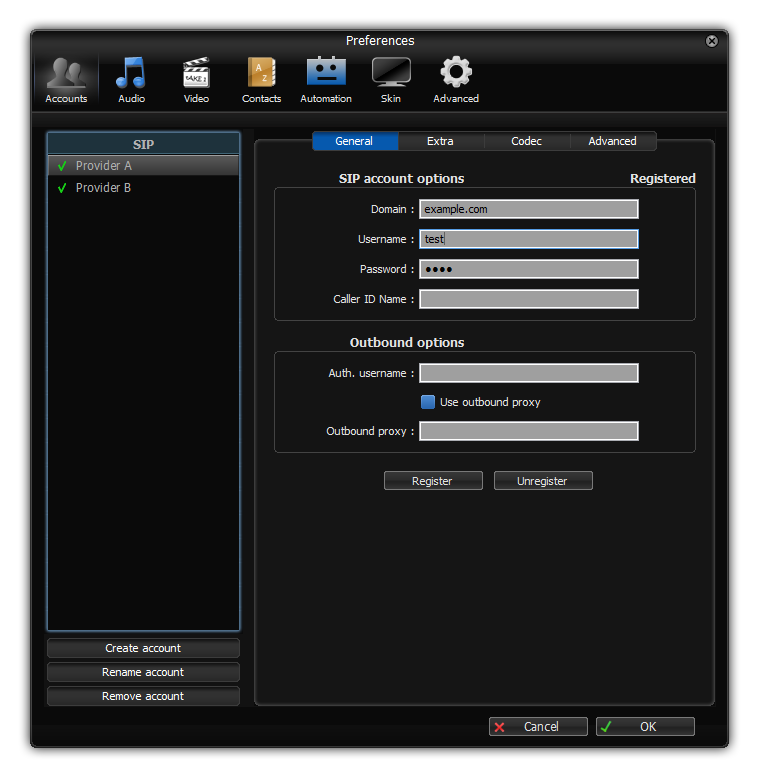
SIP Accounts
General
Sip Account options
| Domain | This is the hostname or ip address where the server is located. You can add a port by adding :<portnumber> add the end, by default port 5060 is used. e.g. sip.example.com:5060. Zoiper supports DNS SRV and NAPTR as specified in the relevant RFCs. |
|---|---|
| Username | The username needed to authenticate to the server. |
| Password | The password associated with this account Caller id name: This an optional field where you can change the callerid for your outgoing calls. Usually this option will have little effect, most providers and servers will disregard changes to the callerid to avoid call spoofing. |
Outbound options:
| Auth. Username | This is the (optional) authentication username required by some server configurations. |
|---|---|
| Use outbound proxy | This checkbox makes sure that Zoiper will use the outbound proxy configured on the line below.
On the bottom of the page, you will find a register and unregister button, this button allows you to quickly register or unregister an account on the server. |
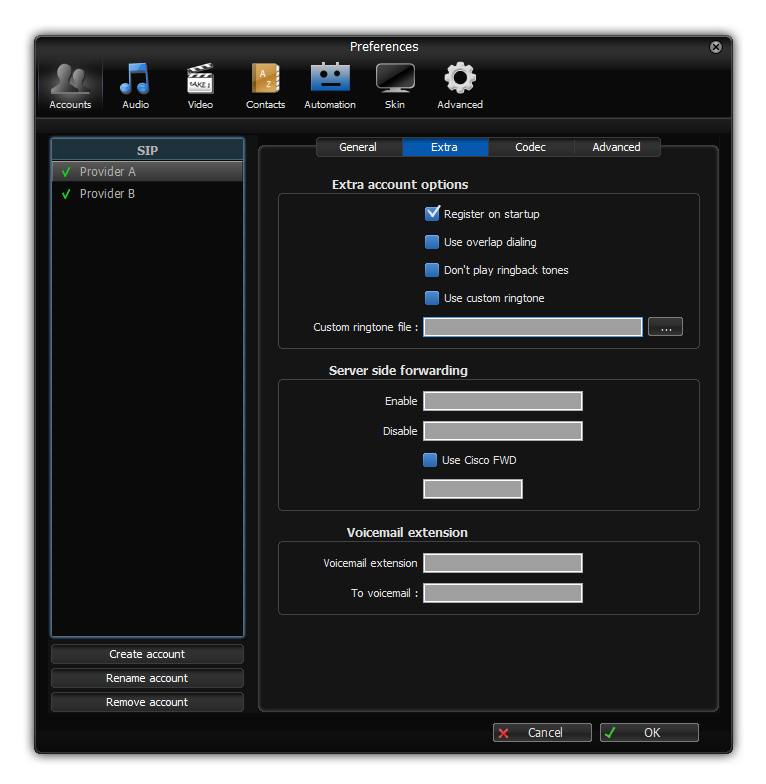
Extra